Run VNC server before logging to Linux GUI

I installed X11vnc and to my dismay, there isn’t a easy option that automatically configures VNC as a service like most Windows VNC software does (so you can VNC into a computer before you login as a user graphically and launch the X11vnc executable).

I had to manually create a service and I ran into a few problems as the instructions on StackExchange and other forums are missing critical pieces.

In here, I will use X11vnc server on Ubuntu Cinnamon (systemd) as an example. Instead of blindly pasting code here without context, I’ll sketch out the ideas here:

  1. Establish a password in a password file stored in common areas such as /etc/x11vnc.pwd instead of using the user-specific home folder default ~/.vnc/passwd
  2. Create a service (such as systemd) pointing to x11vnc program with the right parameters, which includes the path to the password file stored in common areas
  3. Start the service

It’s worth nothing that the X11server connection is unencrypted. I tried the -ssl options but my RealVNC clients complained about their version


First of all, x11vnc -storepasswd creates the encrypted password file at the current home folder where you run the code. You are going to call the said password file with x11vnc -rbfauth {path to password file} parameter when launching the X11vnc server program.

One way to do it is to copy the created password to a system-specific configuration folder instead of user’s home folder:

sudo cp ~/.vnc/passwd /etc/x11vnc.pwd

Alternatively (which I do not recommend), is to specify the password AND the password-file path directly with optional specifiers of the -storepasswd parameter.

# Directly create the password file without a prompt that hides the password entry
x11vnc -storepasswd my_pASSword /etc/x11vnc.pwd
# Clean up your terminal command history since you've exposed the password visually
history -c

Unfortunately, if you want to specify the path to the password-file, you have to specify type the plain text password in the command line, which you should do it when nobody’s watching and clear the history immediately afterwards. If you are in a public place, just do it the old way and copy the password file over


The core part of setting (doing the data-entry) for registering a service is the figuring out the command line parameters executing x11vnc program. At minimal, you’ll need

  • -rfbauth specifies where the password file is (or you can directly specify the password with -passwd, which I do not recommended)
  • auth: authentication means (prefers –auth guess, but you can specify where your .Xauthority file is)
  • -display: 0 connects to the X11 server display, which is usually 0
  • -create is the missing link! you must absolutely use this tell the VNC server to make a Xvfb (X virtual framebuffer) session if no display session is found (which is the case when you are running X11vnc as a service before logging in the a Desktop Environment like Cinnamon)

You’ll typically want this for a constant-on VNC server

  • -forever: x11server instances are by default (-once) killed after the client disconnects. -forever option keeps it there

My personal preferences

  • -shared: I might have a few computer VNC’ing into the linux computer and I don’t want to make sure I remember to close the ones I’m not using.
  • -noxdamage: XDamage is a system that only updates the changed parts of the screen. Don’t need it when bandwidth isn’t super tight.
  • -repeat: allow hold and repeat keystrokes just like what we are used to. By default it’s set to -norepeat to avoid stuck key scenarios.

For debugging (useful! that’s how I figured out the missing part that I have to use -create to make a dummy screen when using x11vnc as a service):

  • -o {output log file}: typically -o /var/log/x11vnc.log
  • -loop: if the program crashes for any reason, it’ll try to auto-restart for robustness. Might not need it if you use -forever

So the core command needed is:

x11vnc -repeat -noxdamage -create -display :0 -auth guess -rfbauth /etc/x11vnc.pwd -shared -forever

Now after we’ve decided the exact launch command, we will have to create the service entry. In systemd Linux, it’s done by writing a service configuration file in text format very much like Windows INI files under /etc/systemd/system and the filename MUST end with suffix “.service

In short, create /etc/systemd/system/x11vnc.service. Basic file without logging is like this:

[Unit]
Description=VNC Server for X11
Requires=display-manager.service
# The two below are for performance (make sure everything is ready before launching)
After=network-online.target
Wants=network-online.target

[Service]
ExecStart=/usr/bin/x11vnc -repeat -noxdamage -create -display :0 -auth guess -rfbauth /etc/x11vnc.pwd -shared -forever
# The 3 lines below are option, but for robustness
ExecStop=/usr/bin/x11vnc -R stop
Restart=on-failure
RestartSec=2

# For automatically creating symlinks with "sudo systemctl enable" only
[Install]
# Start at runlevel 5 (multi-user)
WantedBy=multi-user.target

This is the minimum skeleton that does the same less robustness against the unexpected:

[Unit]
Description=VNC Server for X11
Requires=display-manager.service

[Service]
ExecStart=/usr/bin/x11vnc -repeat -noxdamage -create -display :0 -auth guess -rfbauth /etc/x11vnc.pwd -shared -forever

[Install]
WantedBy=multi-user.target

The default permissions 644 (everybody reads but only root can write is standard for services. 640, denying unknown people the read access is also acceptable if you are paranoid) should be correct if you use sudo creating the file in the /etc/systemd/system folder.

There are some older tutorials using the (/usr)/lib/systemd/system folder, which are now reserved for automatic entry by programs instead of manual service entry like what we are doing now. Technically either way works, but follow the convention so people know where to find the entries.


After that enable the service file you’ve created (the “.service” suffix is optional when calling), preferably do a daemon-reload to make sure edits in the service file is reflected. If you don’t want to wait until the next book, you can start it with systemctl

sudo systemctl enable x11vnc
sudo systemctl daemon-reload
sudo systemctl start x11vnc

This kind of stuff in Linux is bitchworthy. It’s 2021 now. How come users need to mess with defining their custom services for such a common VNC use case (start before logging in graphically)? Never have to deal with this kind of shit in Windows with VNCs: they always expect users has the computer to themselves and always offer the option to set up the service automatically!

Loading

rsync/Deltacopy gotchas (especially Windows transfers)

Deltacopy is a GUI wrapper around rsync, a feature-packed tool to copy files locally AND remotely, AND differentially (automatically figure out the parts that are different and resend. Excellent for repair) through hash comparisons. For non-programmers, hash is a unique ID computed for a chunk of data that are expected to change wildly even at the slightest data/file change/corruption).

Deltacopy is very useful if you just want to do the basic stuff and not know the rsync syntax and switch combinations off the top of your head. It also provides a windows port of rsync based on Cygwin (a tiny Linux runtime environment for windows). This is the only free alternative to cwRsync, a paid Windows port of rsync.

rsync is a Swiss Army Knife that can also work from one local path to another. Deltacopy is intended for remote file transfer.

Deltacopy server is basically this:

rsync --daemon 

However in Windows, since it’s cygwin, it’s looking for linux’s /etc/rsyncd.conf by default if you do not specify the config file through --config switch.

Deltacopy client basically help you generate the command to transfer files. Most of the features are done through right-click (context) menu, not toolbar or pull-down menus, which might confuse some people. You set up your tasks as Profile, which can be scheduled (the bottom panel) or executed immediately by right clicking on the profile:

Run is pushing file to the server, Restore is pulling files from the server. Run Now and Restore are for executing the command (aka task) immediately. You can peek into what it generated by right-clicking on the profile and choose “Display Run/Restore Command”. First time users might not be able to find it since the only place to access it is through context menus.

There are some tricky parts (gotchas) for specifying the files/folders to copy. First of all, even though you use Add Folder/Add Files button for entries

Basically you can make a (source, destination) pair by modifying the selection and target path. It’s just passed onto rsync command verbatim. The target path is relative to the virtual directory set on he server (see Deltacopy Server’s directory)

The destination path which is endowed with the branch folder name (one-level). In other words, if your source is C:/foo/bar, Deltacopy by default set the destination to /bar instead of /. This is probably to avoid the temptation of lumping all contents in the same remote destination root. If you just want to simply lay the files at the root virtual folder at the destination (my most common use case), you’ll have to edit and clear out the (relative) destination path.

As for the source, the author of rsync chose to do it the logical (more conservative) way but not intuitive way: by default it reconstruct the source folder’s FULL path structure at the destination! For example if you intend to copy everything under C:\foo over, the destination will create {destination root}\foo in the process and put everything under it instead of directly at {destination root}. The design choice was supposed to prevent accidental overwrites as multiple source subfolders try to write over each other with the same names at the destination.

Luckily, there’s a way around it! See man pages for -R –relative: Put a dot (.) at the place where the relative path starts! For example, the source is C:\foo\bar\baz and you do not want /foo to be created at the destination and want it to start with /bar instead. You should enter C:\foo\.\bar\baz as source. Everything the left of the dot (refers to self-folder) are stripped from the destination path structure.


ACL support for Windows sucks because rsync lives on cygwin, which has POSIX (unix/linux) type of permissions/ACL.

https://unix.stackexchange.com/questions/547275/how-do-i-use-rsync-to-reliably-transfer-permissions-acls-when-copying-from-ntf

In my opinion, the best way to go about it is to not transfer ACLs from the source and follow the preexisting ACLs at the destination. I’d also leave the groups and owners alone (inherit at destination) as well I might not be on the same active directory (or workgroup user management) as the destination computer so accounts with the same name might not be actually the same accounts.

--no-p --no-g --no-o

–no-{command} is the complement prefix that does the opposite of the -{command}, so the above means skipping -p (perms/permissions), -g (group), -o (owner) and make sure it has full permissions for everybody.


Sometimes a remote path can be mistaken as a relative local path with the hostname/IP address as the folder name if there’s no username. Start it with rsync:// as the URL scheme and the syntax is like ftp:// as far as username is concerned.

Deltacopy protects the source and destination paths with double quotes (“). It’s a good practice that we should do it even with direct rsync calls.

Loading

Not missing Windows after trying Ubuntu Cinnamon Remix

Given that I grew up as a power DOS/Windows user, I often have gripes about how frustrating Linux is and they were almost never ready for people who just want to get common things done by intuitively guessing where the feature is (therefore having to RTFM or search the web for answers).

I deal with HP/Agilent/Keysight instruments a lot and appreciated their effort put on user experience (UX) design. It’s not that user who’s stupid if they have to dig through 5+ levels of menu buttons to measure a Vpp (peak to peak voltage) and the software aren’t smart enough to default to the only channel in use. That’s what Tektronix did to their nasty user interface and raised a generation of Stockholm Syndrome patients who keep buying Tek because they are traumatized by the steep learning curve and would rather walk on broken glass than having to learn a new interface from another vendor (that’s called vendor lock in).

I certainly appreciate Cinnamon desktop environment (came with Linux mint) designers willing to not insist on the ‘right way of doing things’ and follow a path that’s most intuitive for users coming from a Windows background.

The last time I used Linux Mint was 19. There’s still quite a lot of rough edges. Some services got stuck (time-outs) right out of the box and systemd went through slowly. It’s just not fast and responsive. When I tried it again when Mint 20.1 was released, my old i3 computer boots to the GUI in 5 seconds and I was hell of impressed. The icons and menus are also now sized balanced proportions like Windows (can’t stand the big and thick default menu-item fonts like Ubuntu).

However, there’s one big impeding factor for me to make Linux Mint my primary computer: the packages repositories are one generation behind Ubuntu (the most widely supported distro)! Software often have bugs that the developers solved, living with old, ‘proven’ software slows down the iterative process.

I’ve been through hell trying to access Bitlocker volume with Linux Mint 20.1 as not only it doesn’t work right of the box like Windows, I’m stuck with a command line dislocker that doesn’t integrated with the file manager (like Nemo). The zuluCrypt available with Mint 20.1 is too old to support Bitlocker properly. Trying to upgrade it to 6.0 has Qt dependencies which is unsolvable. I was able to download the unsanctioned old revision in debian package but there’s more unsolvable dependencies.

The alternative option of compiling from the source is met with more dependencies fuckery and now the restrictive Mint repository might not have the exact version of the compiler required by the source code package. Aargh!

I was about to give up Linux Mint and install Ubuntu and try to hold my nose changing the desktop to Cinnamon. Luckily I’ve found somebody who read my mind: there’s Ubuntu Cinnamon Remix!

Not only Ubuntu Cinnamon Remix supported Bitlocker right out of the box (no need to fuck with zuluCrypt which doesn’t integrate with the file explorer anyway)! Most of the defaults make sense, buttons are often where I expect them to be. Even Win+P key works identically! The names/lingo are close to Windows whenever possible, and honestly the default Yari theme is visually slightly more pleasing than Windows as it makes very good use of the visual spaces!

Here’s a few transition tips

Windows Ubuntu/Cinnamon
WallpaperBackground
Device Manager(No equivalent) Install hardinfo for System Information
Task ManagerSystem monitor
Windows KeySuper Key
ShortcutLauncher
Lingo
Windows Linux
Foobar2000deadbeef
Notepad++notepadqq
Greenshotksnip
Apps and its near equivalents

I use Winsplit-Revolution in Windows (old version is freeware) that uses the numeric keypad to lock the window to the 9 squares grid using Ctrl+Alt+{Numpad 1-9}. Save the keyboard shortcuts in case if you want to install it again on another computer:

dconf dump /org/cinnamon/desktop/keybindings/ > dconf-settings.conf
dconf load /org/cinnamon/desktop/keybindings/ < dconf-settings.conf

There’s no Ctrl+Shift-Esc key which I often use to call Task Manager (called System monitor). I had to make the shortcut as well to feel at home.

WindowsLinux
(Explorer) Alt-D for address bar(Nemo) Ctrl+L

Loading

Qemu for Windows Host Quirks

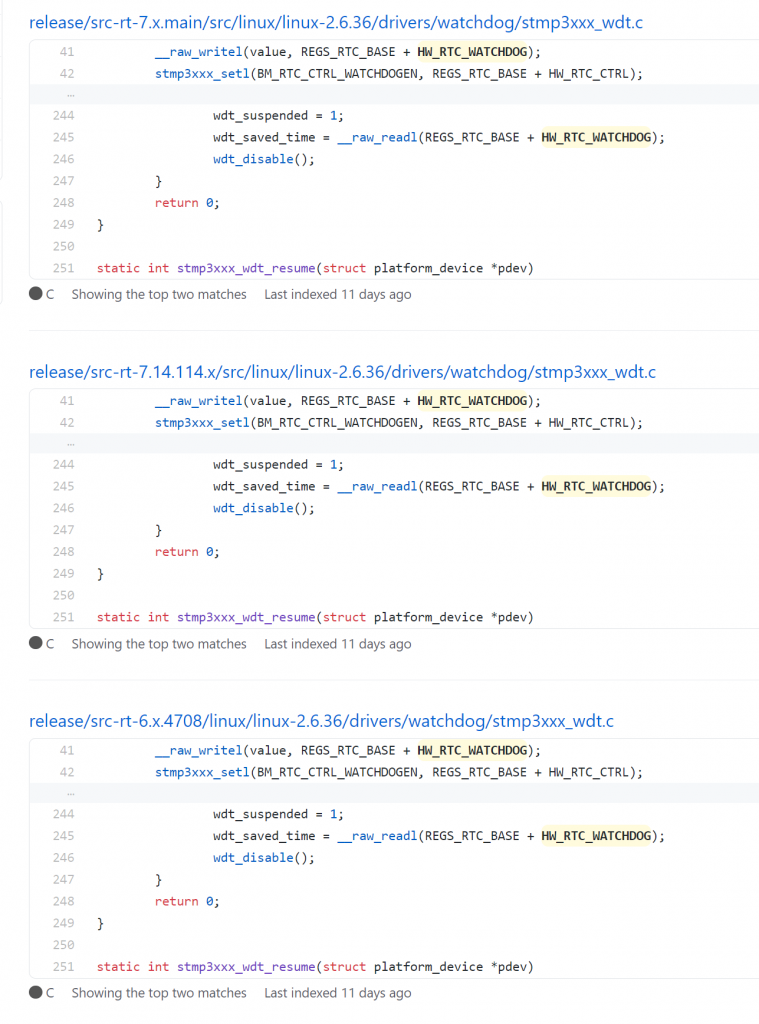
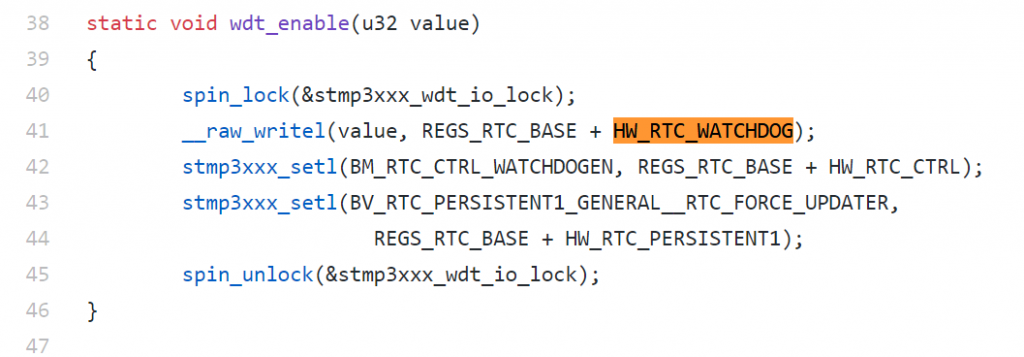
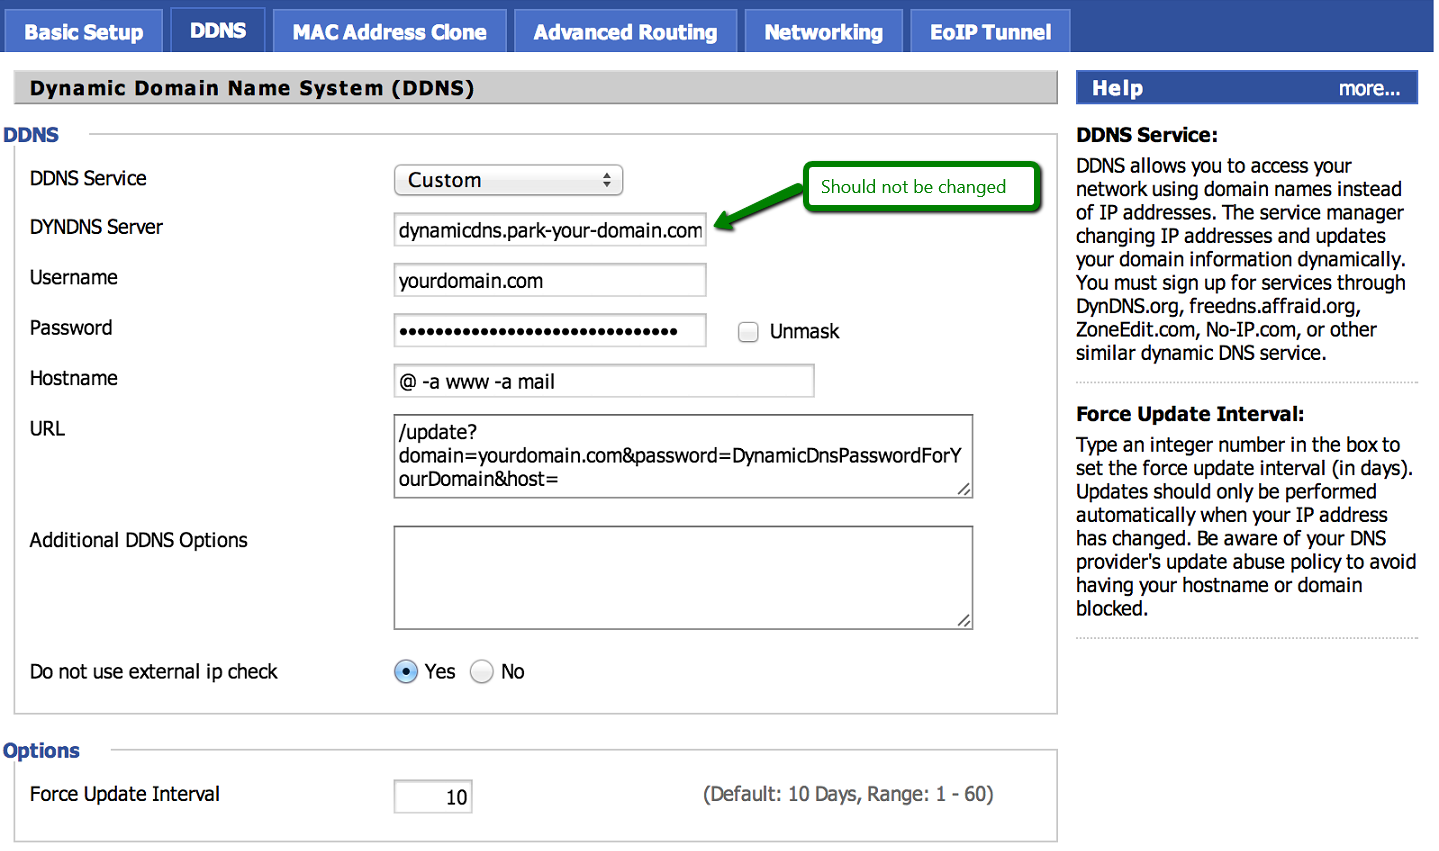
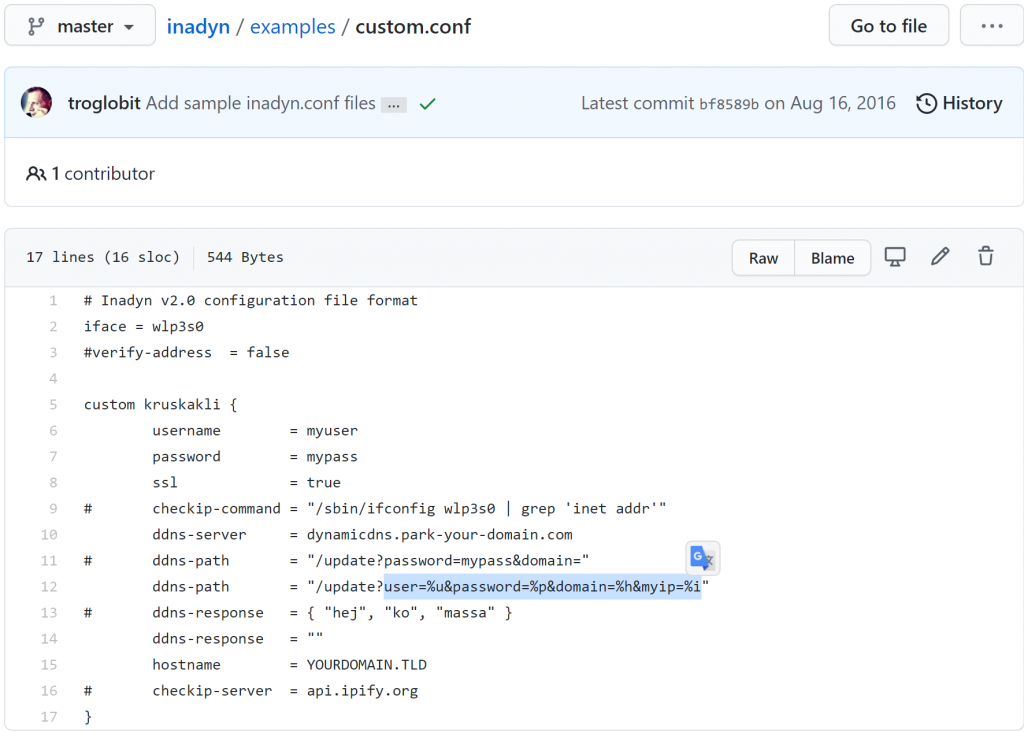
I’m trying to cross compile my router’s firmware as I made a few edits override the update DDNS update frequency. Turns out it doesn’t work on the latest Linux so I’d need to run an older Ubuntu just to keep it happy.

RANT: Package servers keep pulling the rug on outdated linux frustrates the hell out of me. Very often developers didn’t make a whole installer for it so we are often wedged between downloading a package at the mercy of its availability from package managers and their servers or compiling the damn source code!

With the promise that Qemu might have less overhead than Hyper-V or VirtualBox (indeed it observably is), I tried installing Qemu on Windows host and it turned out to be a frustrating nightmare.

RANT: Linux is not free in the sense of free beer. The geniuses did the most sophisticated work for free but users pay time and energy cleaning after them (aka a support network dealing with daily frustrations) to make these inventions usable. There’s a company that does the clean up to make BSD (same umbrella as Linux/Unix) usable and made a lot of money: it’s called Apple Computers (since Steve Jobs’ return).

qemu is just the core components. System integration (simplifying common use cases) is practically non-existent. Think of them as the one who produced an ASIC (chip) and the end-user happens to be the application engineers. There’s a few tutorials on qemu Linux hosts for moderately complex scenarios, but you are pretty much on your own trying to piece it altogether for Windows because there are some conceptual and terminology differences. The man page --help for the qemu’s Windows host’s VM engine was blindly copied from the Linux hosts counterpart, so it tells you about qemu-bridge-helper which is missing.

I stupidly went down the rabbit hole and drained my time on qemu. So I documented the quirks to help the next poor sap who has to get qemu running on Windows 10 host efficiently over Bridged-Adapter (VirtualBox lingo) networking mode.

  • Preparation work to get HAXM accelerator set up
    • Release VT-d (hardware assisted virtualizations) so HAXM can acquire it
      • You’ll need to remove Hyper-V completely as it will hoard VT-d’s control
        • Windows Sandbox and Windows Subsystem for Linux (WSL2) uses Hyper-V. If you just unchecked Hyper-V in Windows Optional Features leaving any of these 2 on, Hyper-V is still active (it only removes the icons)
    • HAXM v7.6.6 not recognized by qemu on clean install. Install v7.6.5 first, then remove it and install v7.6.6. Likely they forgot a step in v7.6.6’s installer
    • Turn on optimization by: -accel hax
  • Command line qemu engine
    • qemu-system-{architecture name}.exe is what runs the show
    • qemu-system-{architecture name}w.exe is the silent version of the above engine. Won’t give you a clue if something fails (like invalid parameters)
    • qemu-img create -f {format such as vhd/qcow2} {hard drive image name} {size like 10G}
  • QtEmu sucks, and they lack any better GUIs out there!
    • It’s basically a rudimentary command line’s GUI wrapper
    • It only has user mode (SLIRP) networking (default)
    • It’s not maintained actively so it doesn’t keep up with the parameter syntax changes (i.e. can generate invalid combinations)
    • Since it uses the silent (with a w suffix) engine, likely to avoid a lingering command window, it also won’t tell you shit and why if something fails. It just ignores you when you press the start button unless all the stars align (you got everything right)
  • Basic command line parameters
    • Set aside 10G for the VM: -m 10G
    • 1 core if unspecified. Number of available threads (in hyper-threaded system) show up as # of processors. It’s referring to logical processors, not physical cores.
      • Windows: -smp %NUMBER_OF_PROCESSORS%
      • Linux: -smp $(nproc)
    • Attach virtual hard drive: -hda {virtual hard drive file name}
    • Attach optical drive (iso): -cdrom {iso file}

I typically want Bridged-Adapter option from VirtualBox, which means the virtual NIC plugs into the same router as the host and just appears as another computer on the same network as host. This is broken into a few components in qemu and you have to manage them separately. Great for learning about how Bridged-Adapter really works, but a lot of swearwords coming from people who just want to get basic things done.

Networking in QEMU is another can of worms if you deviate from the default SLIRP (user mode). I figured out how to work it, but the network bridge is faulty and it keeps crashing my windows with BSOD on bridge.sys with varying error tag. I have short glimpse of it working if I move very fast. Looks like the TAP driver is corrupting the memory as the bridge became very erratic that I see error messages deleting it and have persistent BSOD when the bridge starts after the VM hanged at the TAP bridge on boot.

I listed the steps below to show what should have been done to get the Bridge-Adapter (VirtualBox) equivalent function if there are no bugs in the software, but hell I’m throwing qemu for Windows to trash as it’s half-baked.

First, of all, you need to install OpenVPN to steal its TAP-Win32 virtual network card. It’s not VMware or Virtualbox that it’s part of the package. Qemu didn’t care to tightly integrate or test this driver properly.

Then you’ll need to bridge the “TAP-Windows Adapter (V#) for OpenVPN” with the network interface you want it to piggy back on.

The name of the TAP adapter is what you enter as ifname= parameter of the tap interface in qemu command line. You have to tell qemu specifically which interface you want to engage in. I named the virtual network card as ‘TAP’ above. After bridging it looks like this:

You are not done yet! The bridged network (seen as one logical interface) is confused and it won’t be able to configure with your physical network card’s DHCP client. You’ll have to go to the properties of the Network Bridge and configure the IPv4 with static IP.

You can use ipconfig /all to find out the relevant adapters acquired DHCP settings and enter it as static IP. Coordinate with the network administrator (can be yourself) to make sure you own that IP address so you won’t run into IP conflict if you reboot and somebody took your IP.

After these are all set up the parameter to add to qemu call is:

-nic tap,ifname=TAP

There are complicated settings like -net nic and -netdev -device. These are old ways to do it and have bloated abstractions. -nic switch combined them into one switch.

Then welcome to the world of Windows 10 bridge.sys crashing frequently and you might get a short window of opportunity that it boots and ifconfig acquire the IP address settings from your router (or network the physical adapter is on)’s DHCP server.

It’s like a damn research project finding out something is technically feasible but definitely not ready for production. Welcome to the FOSS jungle!

Postscript: I put Hyper-V back and realized it’s insanely slow with Linux Mint as it does not support hardware graphics acceleration. It’s night and day of a difference. Qemu is fast, but it crashes on Windows 10 if I bridge the adapters!

Loading

Aria2 WebUI Notes

Aria2 is a convenient command line downloader that works like curl/wget on http/ftp, but it also support many other protocols, and it aria2 natively multipart download!

Instructions for Aria2 on Entware hosted by Lighttpd (defaults to Port 81): https://www.snbforums.com/threads/aria2-webui-on-asuswrt-merlin.63290/

Instructions for Nginx on Entware (defaults to Port 82): https://hqt.ro/nginx-web-server-with-php-support-through-entware/

Instructions for Aria2 on Entware: https://hqt.ro/aria2-download-manager-through-entware/

There are some minor details that changed.

# Install the base (core) software first
# This example is for entware
opkg install aria2

# Download the package from Github zip to /opt/tmp
wget -c -O /opt/tmp/webui-aria2.zip https://github.com/ziahamza/webui-aria2/archive/master.zip --no-check-certificate

# Make sure you have some web server installed (nginx, httpd, apache, etc.)
# Nginx HTTP server instructions
# https://hqt.ro/nginx-web-server-with-php-support-through-entware/
# Make sure you know what {Webroot} is
# for Nginx, {Webroot} is /opt/share/nginx/html

# Unpack to the zip file at /opt/tmp and clean up the zip
unzip /opt/tmp/webui-aria2.zip -d /opt/tmp/ && rm /opt/tmp/webui-aria2.zip
# Move/rename to desired location
mv /opt/tmp/webui-aria2-master {Webroot}/aria2

Nginx defaults to port 82 (change it to where you set your web server). The WebUI can be accessed at http://your_server_here:82/aria2/docs.

/doc is inconvenient, so I created a redirection by placing this index.html under aria2’s root folder:

<meta http-equiv="Refresh" content="0; url='./docs'" />

The RPC host breaks out of the box because the you’ll need to make a few adjustments to /opt/etc/aria2.conf before you can start the service without crashing it (so the WebUI of course will complain with a lot of cryptic error messages):

# Basic Options
dir={Change it to a viable folder that has enough space if /opt/var/aria2/downloads
 is is not big enough}

# RPC Options
# Unless you want to get a certificate, you'll need to use unsecure mode:
rpc-secure=false
# Change your rpc-secret to be matched in "Connection Settings" in the WebUI
rpc-secret=whatever_passphrase_you_like

After you get the config file correct

# Start the installed aria2 service 
$ (the package already have a service wrap over aria2c)
# aria2 seem to assume it's port 81 so the init.d script has a "S81" prefix, but aria2 does not control the port, where you put the WebUI in http. So it's just a cosmetic filename naming convention.
/opt/etc/init.d/S81aria2 start

If the service wouldn’t start (some bad configs might have the service reported as “done” and after you check again in a second with “S81aria2 check“, it’ll report as “dead”. You can debug by looking at what went wrong at /opt/var/log/aria2.log. That’s how I figured I need to turn off “rpc-secure” parameter.

Loading