Recently, I’ve bought this CF card reader on eBay but it doesn’t detect at all.
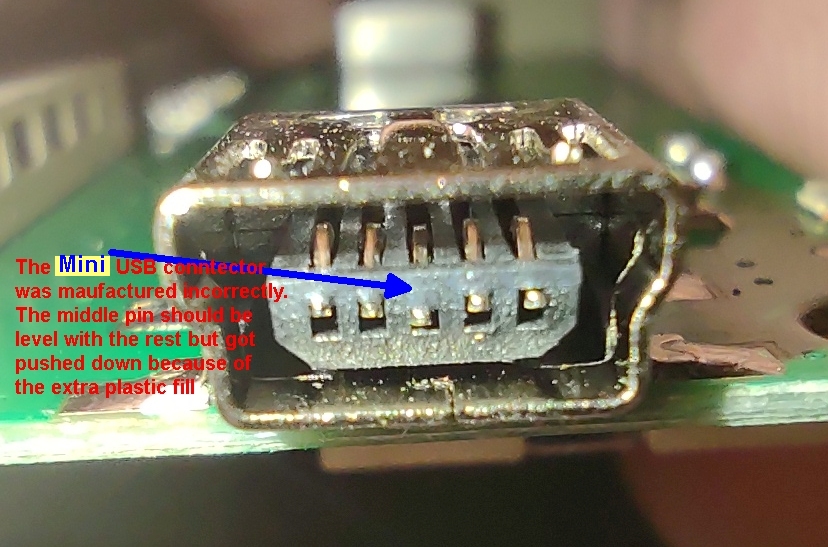
I looked closely into the connector with a loupe and realized that the mini USB conductor was molded incorrectly. The center middle pin was pushed down because extra plastic was deposited above it:
The seller refunded in full but I figured that if the connector is malformed at the molding stage, buying it from another seller is not going to make it work, and the other form factors/connector configurations are inconvenient, so I tried my luck and see if there are exact matches for the connector they’ve used. Turns out it’s a 56 cents connector (price for 1 piece) available in Mouser (UJ2-MBH-1-SMT-TR):
In bulk, this connector can be bought for $0.22. For something that’s selling for $5/pc, the Red Chinese manufacturing had to go cheap to shave a few cents that ended up turning finished products into total trash. Most people are not electronics/troubleshooting savvy enough to figure out this shit, and the labor cracking the piece up and the SMD rework can easily buy 20pcs new. I just happened to have the tools (Metcal hot tweezers) so I can desolder the bad connector in seconds, but average users do not have that luxury so the neutered USB card readers go straight into trash.
Turns out there’s two hurdles to launching Quickbooks as they used some old Windows dependencies
Internet Explorer needed for DLL/ActiveX/DCOM
XPS Writer needed for PDF libraries
In later versions of Windows 10, IE11 was turned off by default, and 21H2 made it difficult to re-enable it by hiding it from Windows’s (optional) features checkboxes, so it needs to be enabled through command line.
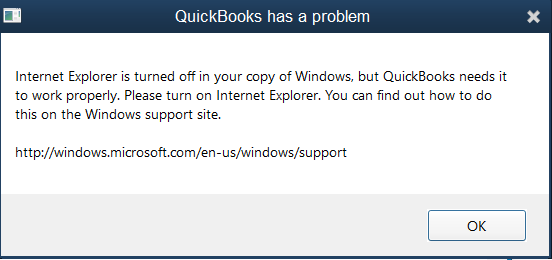
If you do not enable Microsoft’s XPS Writer feature, you’ll get this error message about PDF on start, though XPS is Microsoft challenger to PDF so they are not the same thing
Microsoft has disabled Internet Explorer on later versions of Windows 10 as they really want people to use Microsoft Edge. However, disabling Internet Explorer 11 might break some software such as Quickbooks 2019, which relied on old fashioned DLLs.
Since 21H2, Microsoft went the extra mile preventing users from re-enabling Internet Explorer 11 by hiding it from GUI ways to turn Windows features on or off (whether you use the app mode interface or the classic optionalfeature.exe interface launchable from control panel’s “Programs and Features”). Instead this needs to be enabled from the command line
This behavior is so frustrating. We don’t live in a time where IMAP storage space is at a premium anymore! Fairmail saves a copy of sent mail in the IMAP’s ‘Sent’ folder by default.
I did some research and it seems like MailDroid insists on ‘saving the sent mail in “Sent from device” folder (I tried disabling it thinking Maildroid will be smart enough to save it in the IMAP’s sent folder, but no, it doesn’t).
Fairmail’s Settings->Send->Message->[Last Item] On Replying to a message in user folder, save the reply in the same folder was disabled (should be, or else it’d be messy), but there’s a subtext that says “The email server could still add the message to the sent message folder”, which points me to think saving a copy to the Sent folder is an IMAP server managed behavior, so it doesn’t rely on email clients specifically telling it where (which folder) to save the sent email.
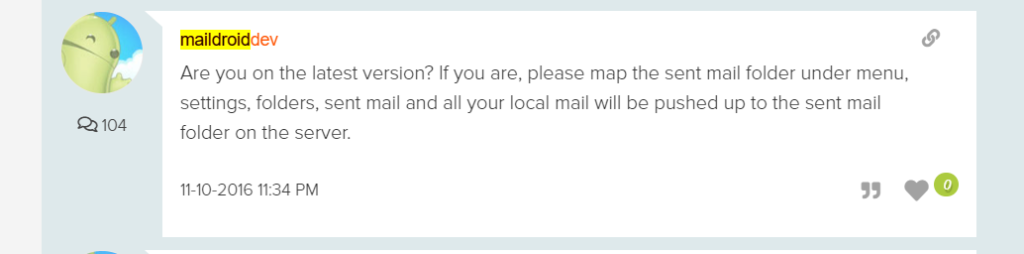
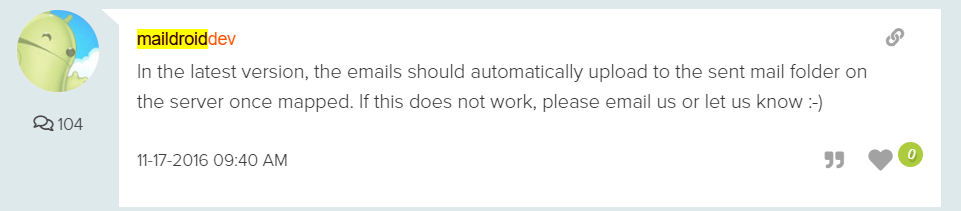
I was about to give up Maildroid and stick to Fairmail, and did a little research on “imap put sent mail in sent folder” and viola, Maildroid is the first one that came up. Seems like I wasn’t the only one perplexed by Maildroid’s weird design choices and it seems like most other email apps do not have this awkward behavior.
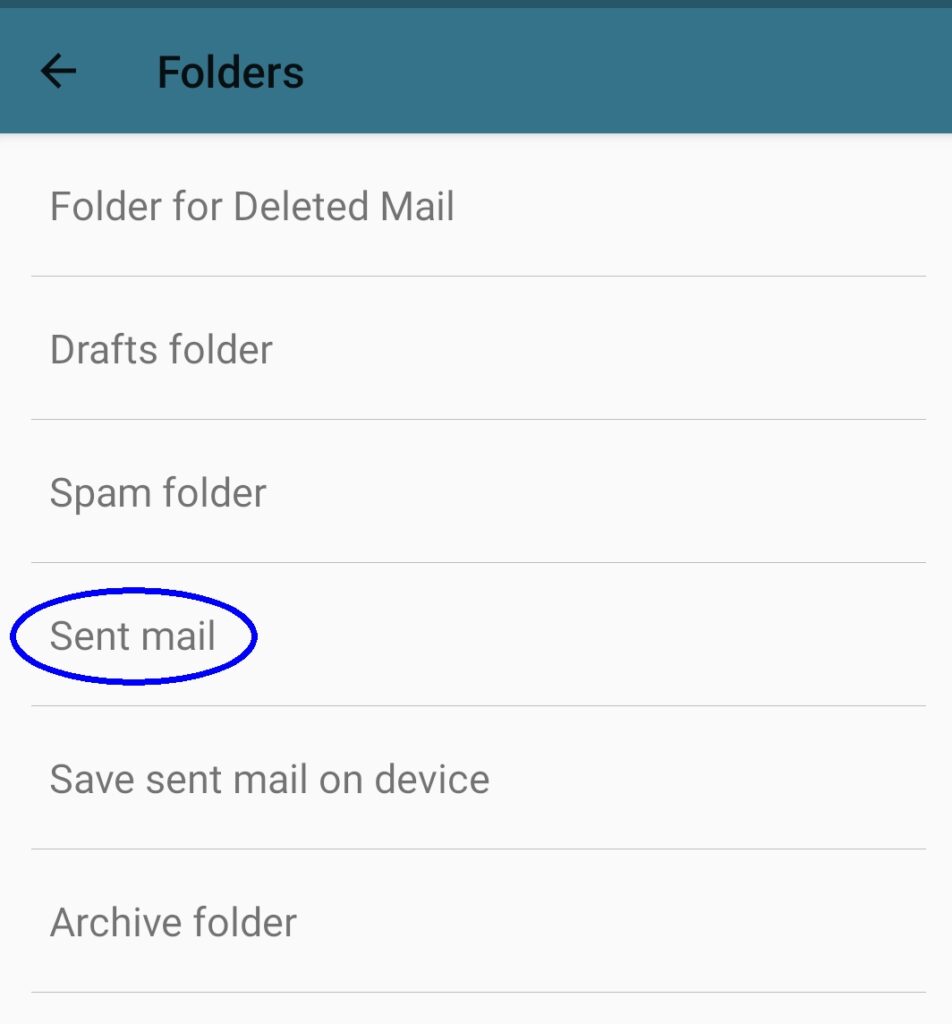
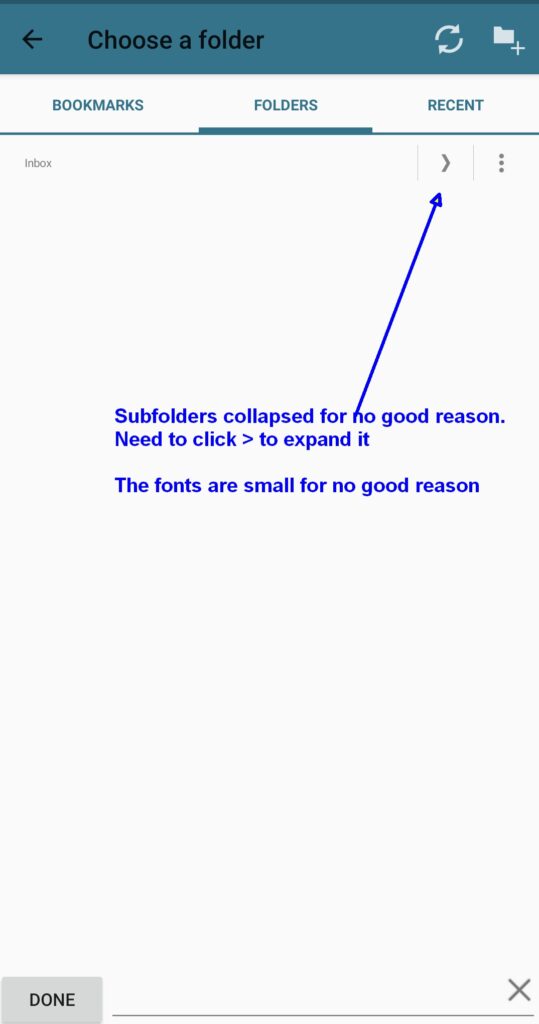
I did as what the dev for maildroid said and it turns out all of the email accounts in use says “Not specified”. When I clicked on one of the accounts, the root folder /Inbox shows up. I had to expand it with the ‘>‘ so the (IMAP) sub-folders show up.
This GUI was designed horribly and it’s clearly an afterthought. The reason I’m saying that instead of just assigning the IMAP sent folder right away after I tapped on it, the UI changes the text at the bottom of the screen (WTF) to what I’ve selected (despite there were no multiple choices) and expect me to click the DONE next to it. It’s so unintuitive in many levels.
The power brick that came with my U1620A order has a rattling noise when I shook it. I suspected a piece of soldered cracked and was wandering inside so I chose not to power it on as it might short something. So I had to crack open the wall wart, which turns out many people have little luck open it up non-destructively.
Just prying it open by force with a screwdriver will ruin the plastics. I needed to somehow soften the glue first and work into it (like using a cutter) to dislodge/cut the glue. Rubbing alcohol doesn’t work that well. The glue is quite stuff so it’s not the easily dissolvable kind.
After some experimentation, I used my hot air station and set it to a temperature right below it melts the hard ABS plastic outside (143 deg C, max air flow), and carefully pried it after taking the heat away.
WARNING: Do not pry while the hot air is blowing as the ABS plastic might be slightly softened! The hot air might overshoot in its temperature feedback) so you might accidentally remold it. When working at the borderline temperature that barely soften the ABS plastic, the second you take the hot air away the plastic cools back (hardens) enough for you to pry.
Out of practicality, I heat up one edge at a time, then focus on 1/3 of the area at a time get an entry point prying one hook open at a time. It takes a lot of patience.
After I got all the 4 sides pried open for some reason I couldn’t release the case and it felt something was stuck in the middle. Turns out the wall wart I have happened to have a center screw hidden from plain sight under the label. The label quality was so good that just pressing it around with a pair of tweezers won’t find the screw hole (because of the tension). I used hot air (at the same 143 deg C) to probe with tweezers to locate the screw hole. I cut a hole in the label for the screw hole because it’d be a pain to use hot air to get the label off in one without ruining it and be able to put it back like new.
Bonus discovery: molded plastics have some memory!
I dented the ABS plastic case during prying (before I thought of using hot air), but I discovered this magical temperature (143 deg C) actually heals the plastic when I blow it in a direction that undoes the dent! The small (like 2mm) dents magically smooth itself out and went back to rough where it was before I screwed it up (pun intended)!
Yes, for molded plastics, small dents caused by prying and bumping, heating it up to the temperature right before it softens will return it to its near original shape without external forces!
Of course, do not go past the softening temperature (143 deg C). If you heat it to a melting temperature, the plastic will lose its memory so you need to apply external force to beat it to the shape you wanted (which is a pain in the butt and it requires a lot of post-processing to get it to look like original).